設定 Plugin
有足夠資料了,回到網站 OneSignal Plugin 的 Configuration 填好。
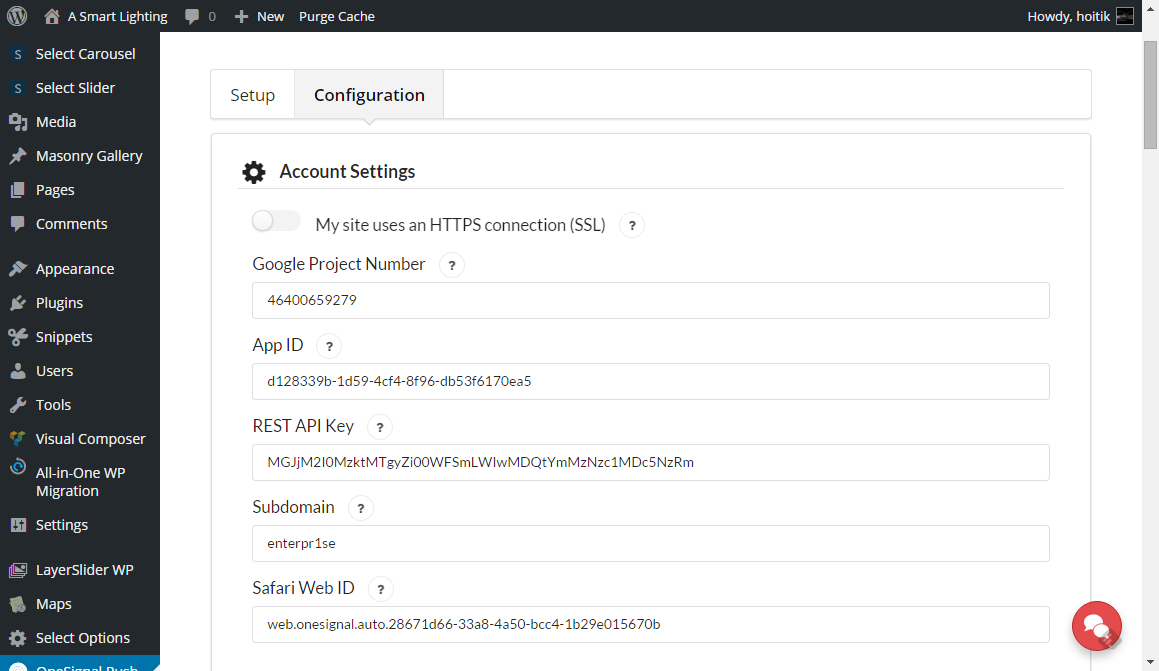
留意網站是否 HTTPS,有 HTTPS 的話就 enable “My site uses an HTTPS connection (SSL)
Notify Button 只是非 HTTPS 網站才需要,如果已經有 HTTPS,就不要 enable 它了。
Notify Button 會在網站的右下角出現,訪客點擊就可以選擇是否接收 notification 通知。
如果已經是 HTTPS 網站,disable 了 Notify Button,就需要 enable “Automatically prompt new site visitors to subscribe to push notifications”
否則新用戶就接收不到 notification 的提示。
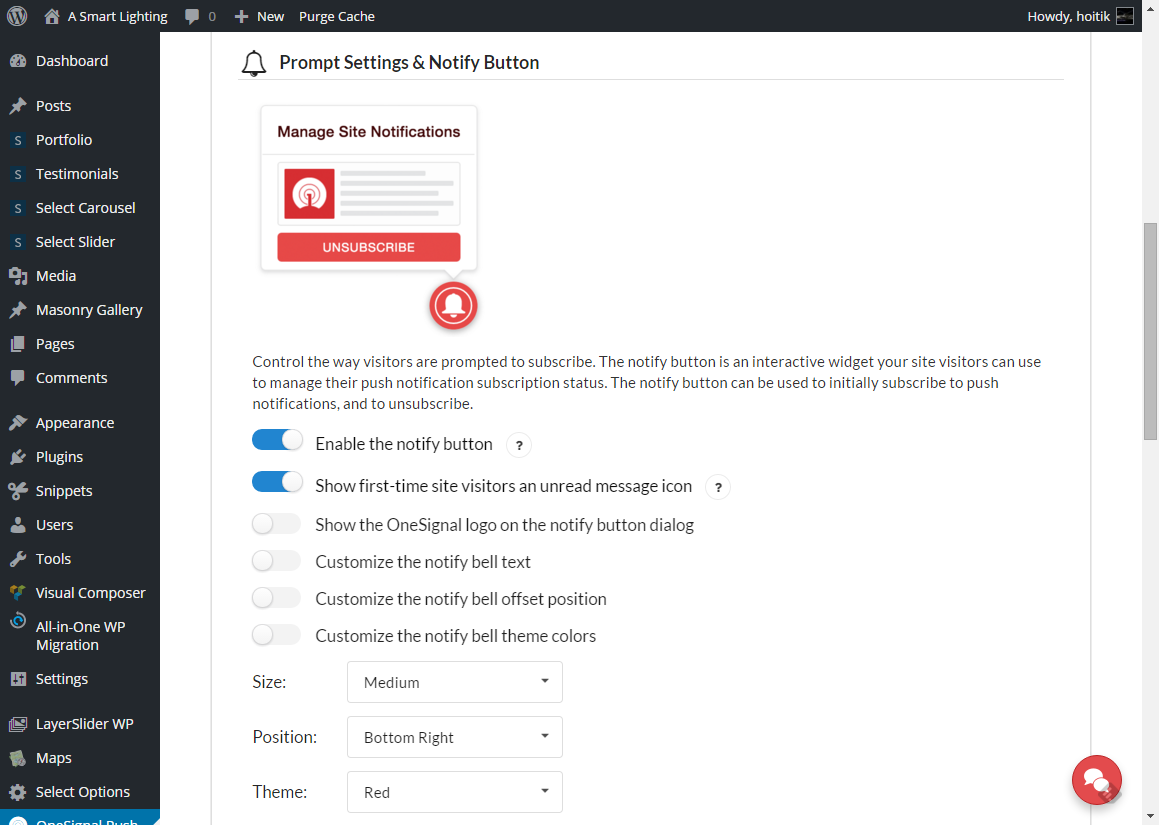
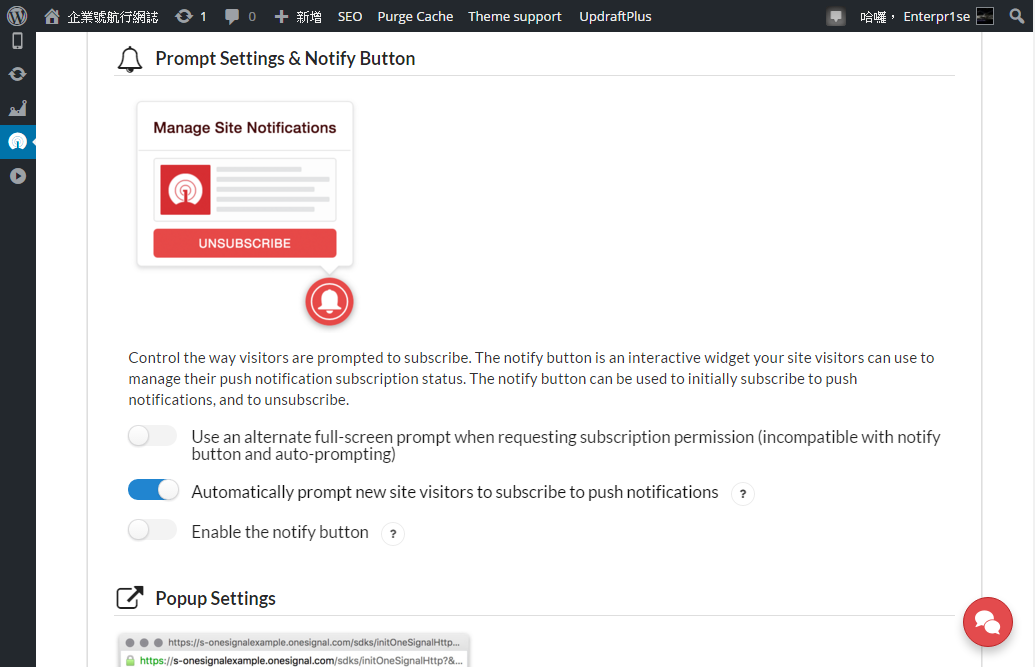
如果想自訂訊息的話(例如想使用中文),就 enable “Customize the notify bell text”
否則的話如上圖只需要 “Enable the notify button” 和 “Show first-time site vistors an unread message icon” 就可以了。
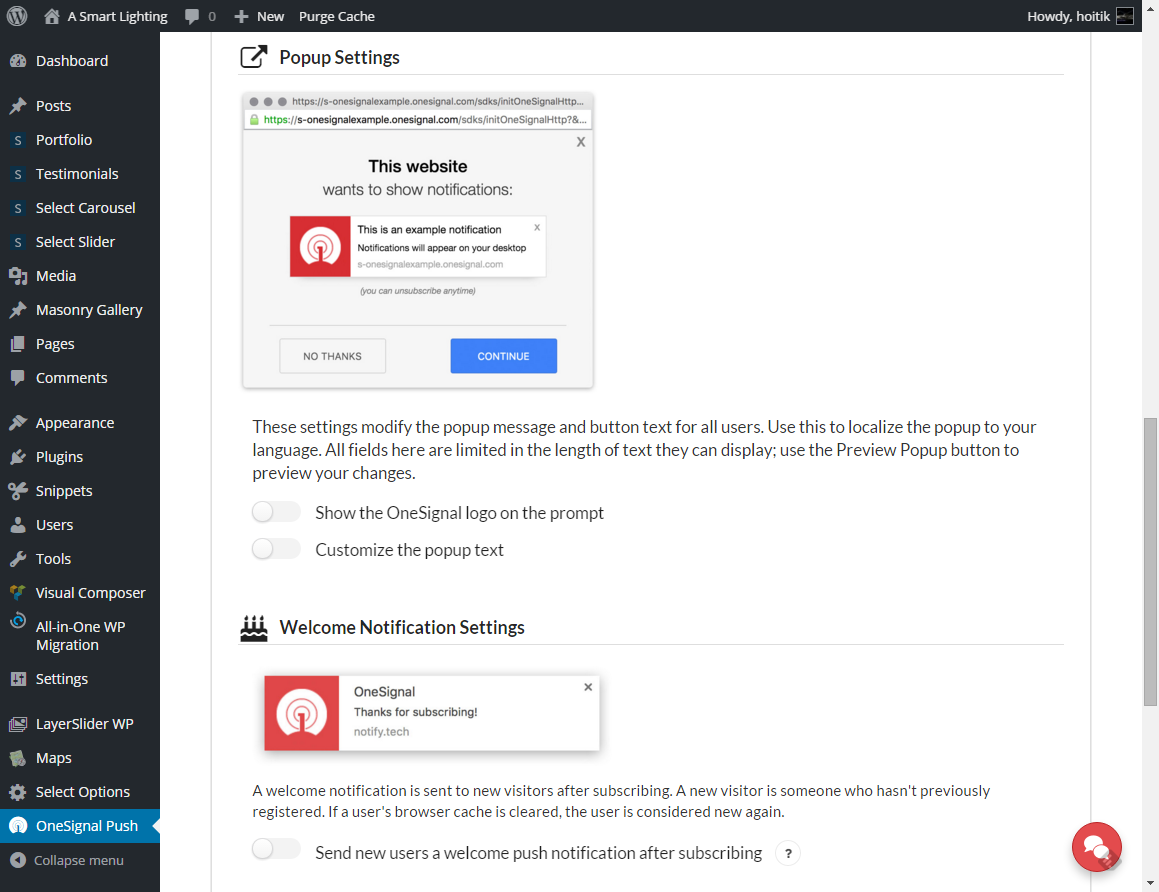
Popup setting 方面,不用 “Show the OneSignal logo on the prompt”,因為用回自己的 icon 較好。
同樣地,如果想將內用轉為中文,可以 enable “Customize the popup text”,否則維持 disable 就可以了。
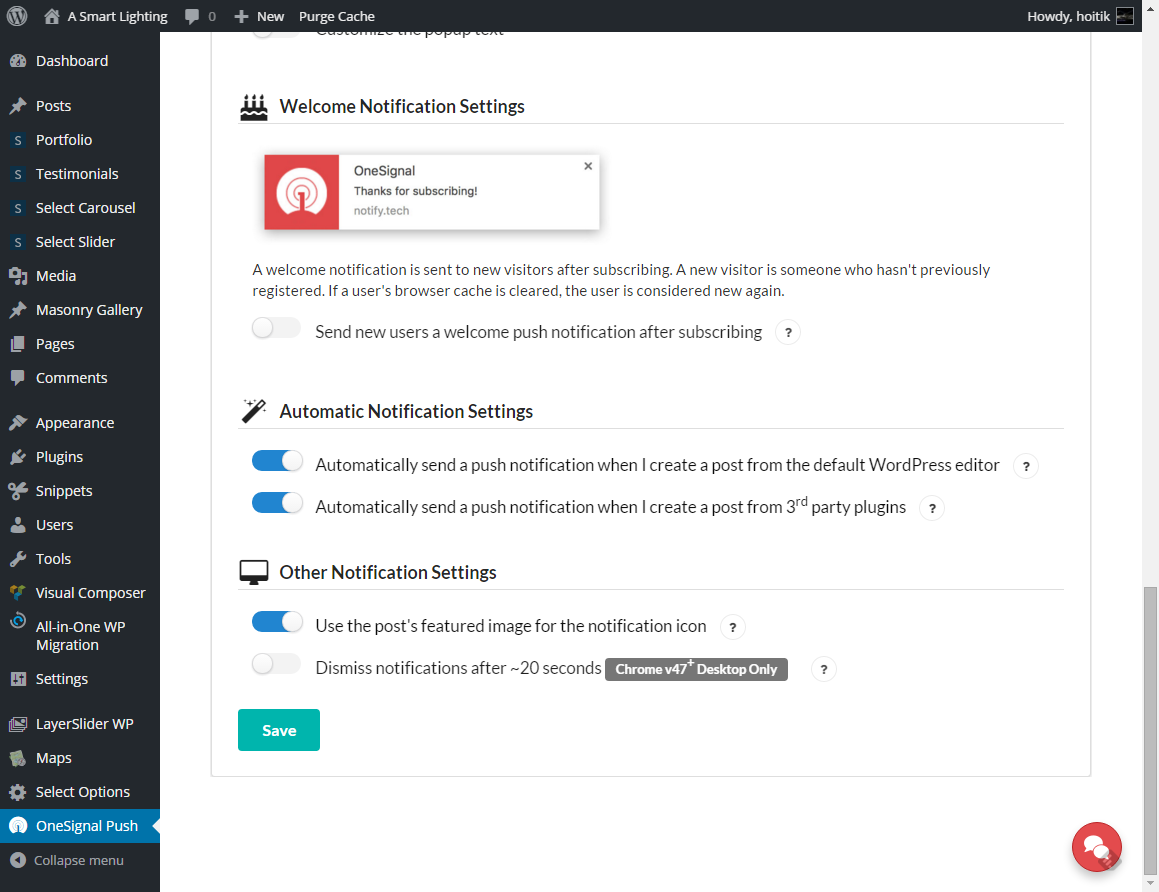
Welcome Notification Settings 方面,會建議 disable “Send new users a welcome push notification after subscribing”
因為對於用戶來說會太煩,剛剛 click subscribe 就有 message 來。
而且對於網站來說,enable 後亦會令到管理員不易找到 notification 傳送數據。
如果想發表文章時自動傳送 notification 的話,就將 “Automatic Notification Settings” 兩個選項都 enable.
另外 “Use the post’s featured image for the notification icon” 都建議 enable.